
Last updated October 16, 2026
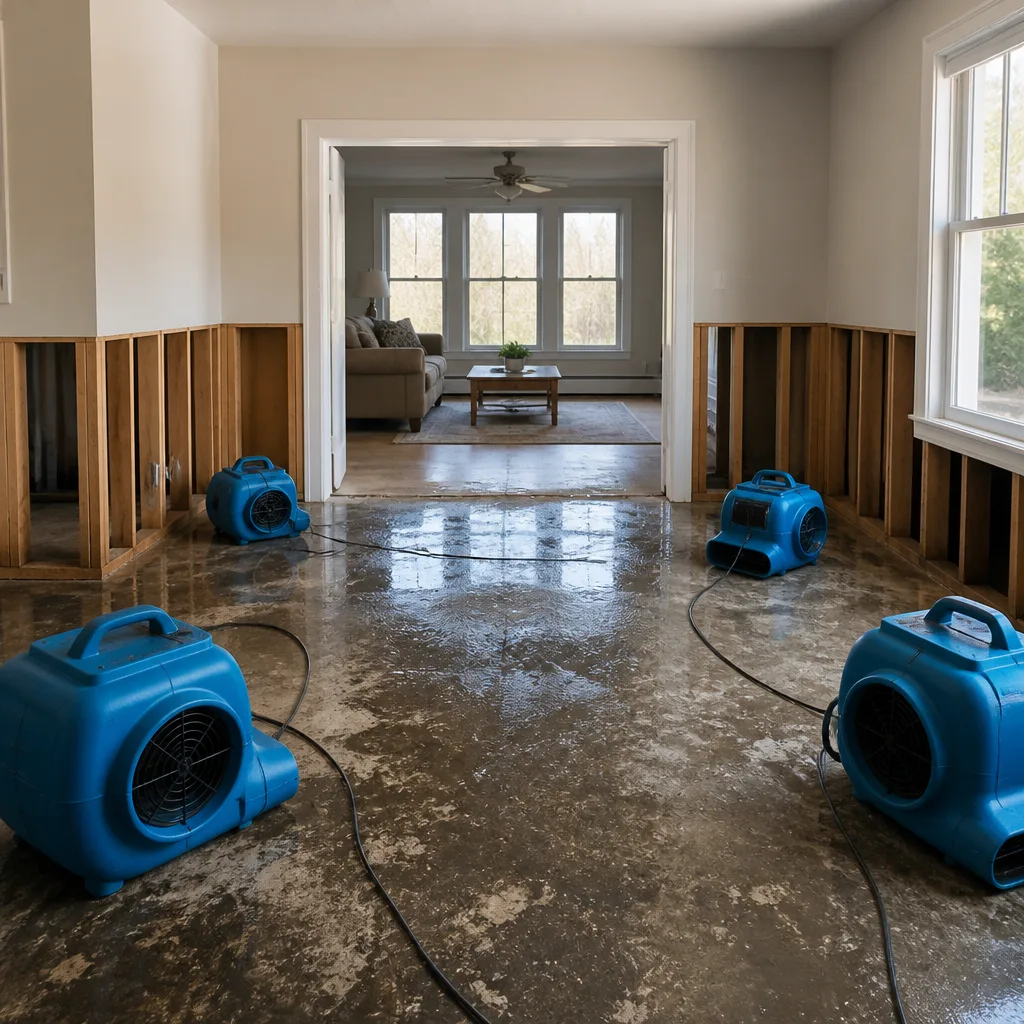 Water damage drying
 Fire & smoke cleanup
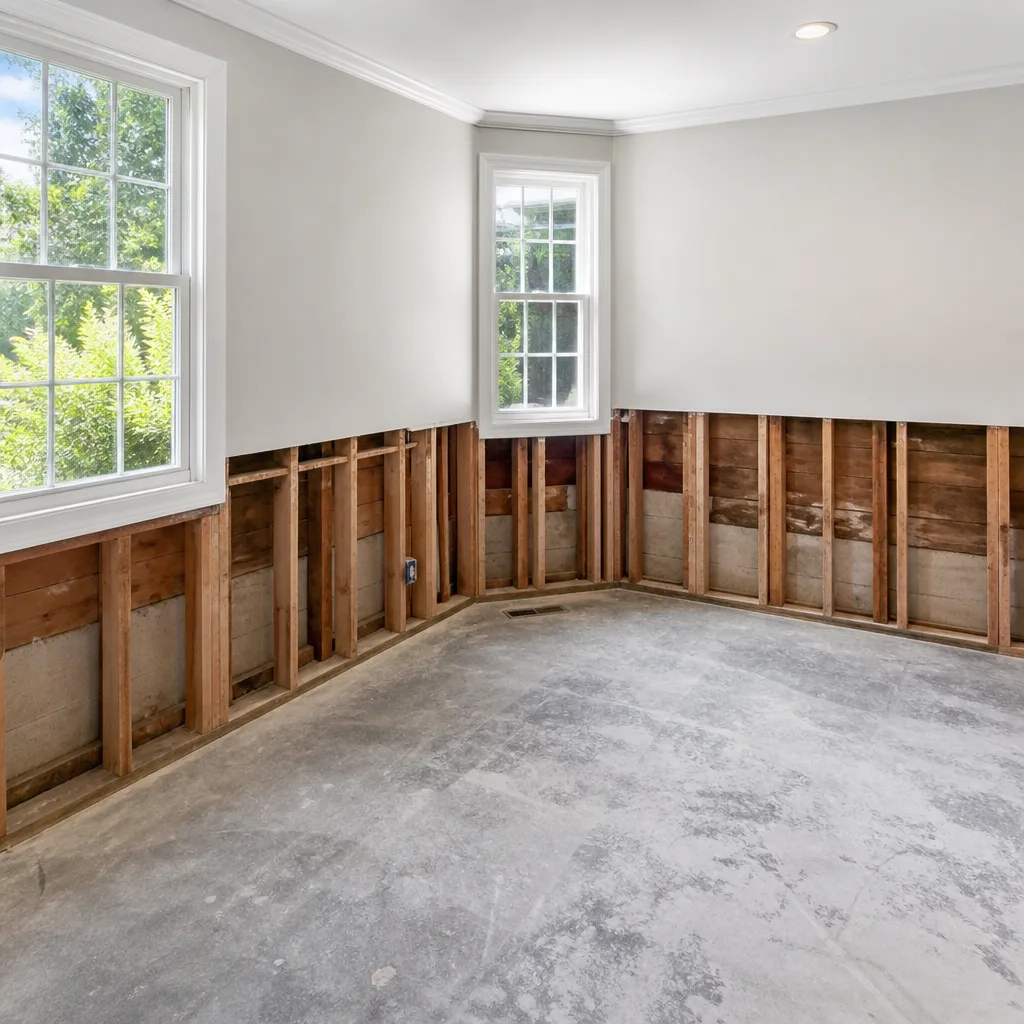 Mold remediation
 Storm response
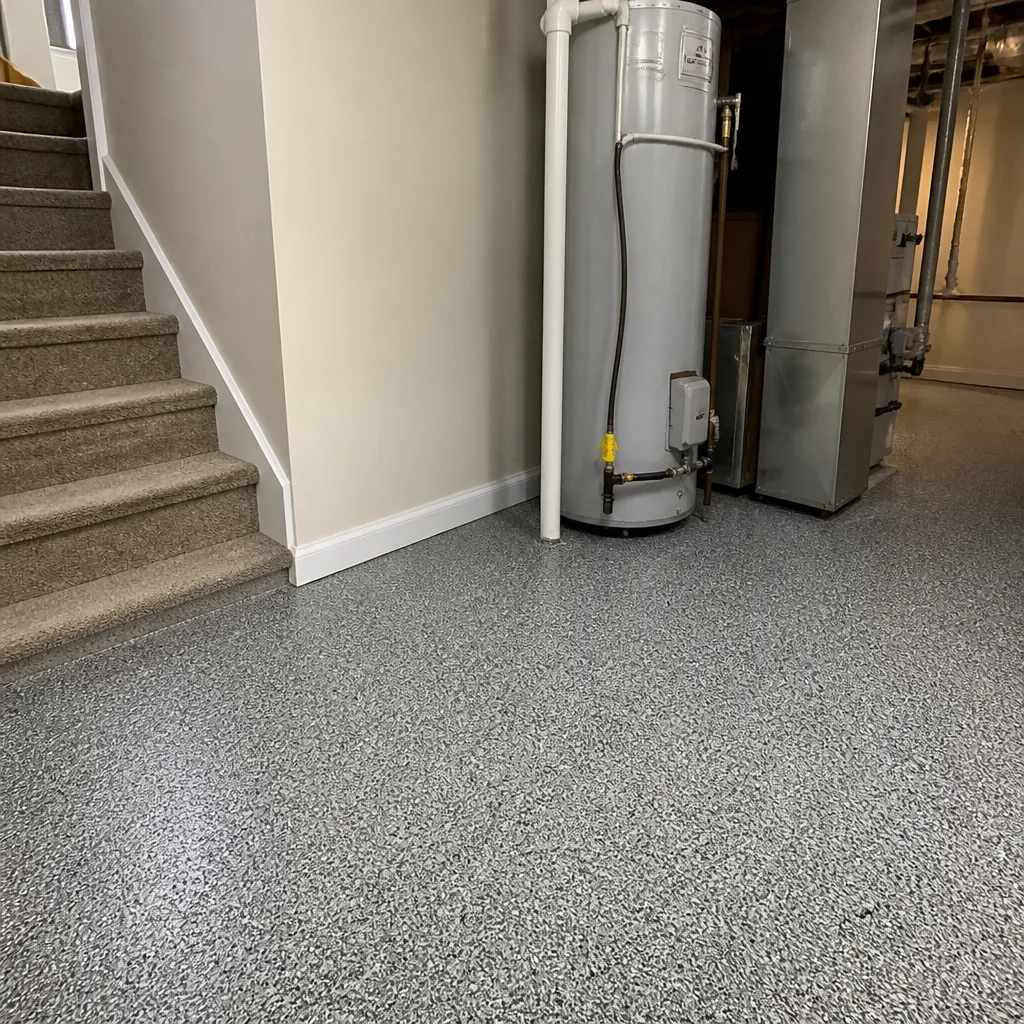 Sewage cleanup
 Reconstruction
Free visual inspection and a written scope of work before any mitigation begins - photos, moisture readings, and drying logs go in your claim file
The scope we write is the scope we bill. Anything new gets shown to you, in writing, before we touch it.
Get your free estimateDIY vs Professional Damage Restoration: The Orlando Homeowner’s Decision Guide
A consumer dehumidifier rated at “70 pints per day” will typically pull closer to 35 pints under real Orlando summer conditions. That’s not a defect. It’s physics. The rating assumes 80°F and 60% relative humidity, and Orlando in August gives you 92°F and 75% RH. The machine works harder, removes less, and runs hotter. Meanwhile, the water inside your drywall is not waiting. By the time you realize the room is still damp four days later, mold spores that landed during the initial event have already found their moisture source. This guide walks through the real decision points between DIY and professional damage restoration in Orlando, not the marketing version. It covers the four-factor test that tells you if a loss is DIY-eligible, the psychrometric math that explains why rented equipment often underperforms in Florida’s climate, the insurance documentation trap that most homeowners discover after the claim is denied, and the mold-disclosure liability that follows you to closing day.
Restoration work we handle
Quick Answer
DIY water damage restoration in Orlando is only genuinely safe when all four conditions hold: the affected area is under 10 square feet, the water source is confirmed Category 1 (clean supply line), no water penetrated walls or ceilings, and the ambient relative humidity in the affected room is below 60% RH. Anything beyond that, and the restoration needs commercial-grade equipment with documented drying records, which is what Water Damage Restoration in Orlando involves. The reason isn’t that homeowners lack skill. It’s that Florida’s subtropical humidity defeats consumer drying equipment, and without moisture documentation, insurance claims get reduced or denied.
Table of Contents
- The Orlando Problem: Why Standard DIY Advice Fails Here
- The Four-Factor DIY Test You Can Apply in the First Hour
- Psychrometrics for Homeowners: The Math Behind Why Rent-a-Dehumidifier Unreliable
- Understanding Water Categories and Classes: The Classification System That Changes Everything
- The Insurance Documentation Trap: What IICRC S500 Requires That DIY Can’t Produce
- Mold Liability in Florida Real Estate: What a Failed DIY Dry-Out Costs You at Closing
- The Narrow, Honest Case for DIY: One Scenario Where You Can Do This Yourself
- Common Mistakes to Avoid
- When to Call a Professional
- Frequently Asked Questions
- The Bottom Line
The Orlando Problem: Why Standard DIY Advice Fails Here
Generic restoration advice from national websites ignores one fact about Orlando: the air itself is wet. From June through September, outdoor dew points routinely sit in the mid-70s, which means outdoor air holds more moisture than the indoor air you’re trying to dry. Open a window to “air things out” and you’re adding water to the space, not removing it. This is the single biggest reason DIY drying attempts fail in Central Florida, and it’s not something a tutorial written in Des Moines or Phoenix will tell you.
Here’s what happens in a typical Orlando DIY scenario. A supply line breaks under a kitchen sink on a Wednesday night. The homeowner shuts off the water, soaks up the visible puddle with towels, and places a box-store dehumidifier and a couple of box fans in the room. By Friday, the floor feels dry to the touch, so the homeowner declares victory and puts the cabinet back. What’s actually happening behind the baseboard is different. The water that ran along the wall and wicked up into the drywall is still there. The dehumidifier is pulling water out of the air, but the air is being replenished by evaporation from the wall cavity, and in Orlando’s ambient humidity, that air-exchange cycle is slow. The drywall’s moisture content stays above 16% for days. Mold germination under those conditions typically begins within 48 to 72 hours.
We’ve responded to hundreds of Orlando homes where a homeowner made a good-faith DIY effort and the result was a larger remediation project than the original spill would have ever required. The issue isn’t competence. It’s that the tools available at retail can’t create the air conditions needed to force moisture out of building materials, and no amount of effort changes that physical limitation. Our Wendell Restoration Orlando home team uses commercial Low Grain Refrigerant (LGR) dehumidifiers, made by manufacturers like Dri-Eaz and Phoenix, specifically because these units continue removing meaningful moisture even at the low humidity levels that consumer units can’t reach.
The Four-Factor DIY Test You Can Apply in the First Hour
Before you decide anything about DIY versus professional restoration, apply this test. All four conditions must be true. If even one fails, the project needs professional drying. This is the fastest way to make the right call in the first hour after discovering water in your Orlando home.
- Affected area is under 10 square feet. That’s roughly a 3-foot by 3-foot puddle at its maximum spread. If the water traveled farther than that across flooring, or if it spread into more than one room, the loss is too large for retail equipment regardless of how shallow it looks. Water that sits in one spot for even 30 minutes can wick along the subfloor joints and travel much farther than the visible surface suggests.
- Category 1 water source, confirmed. Category 1 means the water came from a sanitary source: a broken supply line, a faucet left running with clean tap water, or an overflowing sink that contained no soap or food waste. If the water came from a toilet, a dishwasher, a washing machine, an AC condensate line that’s been sitting stagnant, or exterior floodwater, it’s Category 2 or 3, and it requires professional antimicrobial treatment. Don’t guess on this one. If there’s any doubt about what the water touched before it hit your floor, treat it as contaminated.
- No wall or ceiling penetration. Water that touched only the floor surface and can be fully extracted with a wet/dry vac is a different animal from water that seeped into baseboards, under cabinets, behind crown molding, or into wall cavities. If the water ran along a wall, if the baseboard absorbed any moisture, or if water traveled under cabinets or vanities, those enclosed spaces can’t be dried by pointing a fan at them. They need directed airflow and desiccant or LGR drying pressure.
- Ambient humidity below 60% RH in the affected room. You can check this with a $15 hygrometer from any hardware store. Measure the room before you start. If it’s above 60% RH, consumer-grade drying equipment will not get the air dry enough to force moisture out of your materials, and in Orlando’s summer months, most homes sit above 55% RH even without a water event. This single factor disqualifies the majority of Orlando DIY attempts during the months when most water events actually happen: summer storm season.
If all four conditions hold, go ahead and start the DIY process described later in this guide. If any condition fails, the smart move is to call for professional drying before the moisture problem compounds. Water that’s absorbed into drywall or subflooring in Orlando will not air-dry out. It will grow mold.
Psychrometrics for Homeowners: The Math Behind Why Rent-a-Dehumidifier Is Unreliable
Psychrometry is the science of air, moisture, and temperature. Restoration professionals use it daily. You don’t need to become a psychrometricist to understand the core principle, but understanding it will save you from the most common DIY mistake: renting a consumer or light-commercial dehumidifier and expecting it to dry a structural cavity.
The metric that matters is GPP: grains per pound. A grain is 1/7,000th of a pound, and GPP measures exactly how much water vapor is suspended in one pound of air. It’s a more precise metric than relative humidity because relative humidity changes with temperature while GPP tells you the actual amount of water present. Dry building materials require air with a low GPP; that’s what pulls the moisture out of the material and into the air. A typical Orlando home in summer may have an indoor GPP of 80 to 90. Professional restoration drying targets a GPP of 45 to 55, sustained, for the duration of the drying project. That’s the environment where drywall and subflooring actually release their moisture.
Here’s the problem with consumer equipment. A standard box-store dehumidifier, the kind you’d buy or rent for $40 a day, uses a compressor-based coil system designed to maintain comfortable indoor humidity levels in a dry climate, not to create a drying chamber. By the time the room’s relative humidity dips below 50%, the consumer unit’s extraction rate collapses. It’s not broken. It’s working exactly as designed. But in Orlando, where the air entering the room from outside or from the HVAC system is already carrying 80+ GPP, the consumer unit is constantly fighting an influx of moisture it can barely handle at its best moment, and its best moment is only in the first hour of operation before it reaches its performance floor.
Professional LGR dehumidifiers solve this differently. They pass air across a coil that’s significantly colder than consumer units, condensing water out of the air even when that air is already fairly dry. Under Orlando summer conditions, a commercial LGR unit from Dri-Eaz or Phoenix can maintain extraction at humidity levels where consumer units have already stopped pulling anything. That’s the entire reason the restoration industry uses them. The equipment is not a premium upsell. It’s the only tool that can create the low-GPP environment structural drying requires in a humid subtropical climate. We deploy these units on every structural drying project, placing them to maximize the vapor-pressure gradient that moves moisture out of walls and floors, and we monitor the results with daily moisture readings until the materials hit their pre-loss moisture content.
Understanding Water Categories and Classes: The Classification System That Changes Everything
The restoration industry, following IICRC S500 standards, classifies water damage by both the cleanliness of the water source and the extent of the water’s penetration into the structure. Homeowners who understand this classification system are dramatically better equipped to make the DIY-versus-professional decision. Those who don’t understand it tend to make expensive classification errors.
Category 1 is clean water from a sanitary source: a broken supply line, a clean faucet overflow, a leaking water heater tank (the potable water, not the pan), or rainwater that entered through an open window but didn’t touch anything dirty. Category 2 is “gray water” – water that carries some contamination: a dishwasher overflow, a washing machine discharge, an AC condensate pan that’s been stagnant, or a sump pump failure. Category 3 is “black water”: sewage, floodwater from outside, toilet backflow containing waste, or any water that’s been sitting long enough to support bacterial growth. Category 3 water always requires professional remediation because the contamination is a health hazard, and any porous material it touches (carpet pad, drywall, upholstery) typically requires removal, not drying.
The water’s Class describes penetration, and it matters just as much for the DIY decision. Class 1 means minimal penetration: water touched only a small area of one room, and only surface materials got wet. Class 2 means water affected an entire room and wicked up the walls less than 24 inches. Class 3 means water came from above (a ceiling leak, a second-floor supply line break) and saturated ceilings, walls, insulation, and flooring. Class 4 means water saturated materials that are resistant to drying: hardwood, plaster, concrete, crawlspaces, and cavity walls. Class 1 drying is sometimes within a careful DIYer’s reach. Class 2 is borderline. Class 3 and Class 4 categorically require commercial drying equipment and moisture monitoring, because the trapped moisture in structural cavities can’t be addressed without directed airflow, deep extraction, and low-GPP air.
Here’s the practical translation for Orlando homeowners. A Category 2 or 3 event always requires professional intervention, no matter how small. A Class 3 or 4 event always requires professional intervention, no matter what the water category was. The only genuinely DIY-eligible overlap is Category 1 combined with Class 1, plus the four-factor test conditions I outlined above. Everything else is an insurance claim and a professional project. If you’re uncertain about the class of your damage, Water Damage Repair in Orlando always begins with classification, because treating a Class 3 loss with Class 1 tools is how mold liabilities are created.
The Insurance Documentation Trap: What IICRC S500 Requires That DIY Can’t Produce
Here’s the part most DIY guides skip. Your insurance policy doesn’t explicitly say “professional remediation required,” but Florida insurers have become aggressive about denying or reducing water-damage claims when the policyholder can’t document that the drying was done correctly. The IICRC S500 is the industry’s consensus standard for professional water damage restoration, and while it’s not a law, it functions as the reference standard Florida adjusters use to evaluate whether a remediation was adequate.
A professional remediation file, compliant with IICRC S500 documentation requirements, contains several things a homeowner can’t generate retroactively. Daily moisture readings using penetrative and non-penetrative moisture meters at multiple points in the structure, recorded over the duration of the drying process. Equipment placement diagrams showing where each dehumidifier, air mover, and air scrubber was positioned and when it was moved. Drying goals documented as specific moisture-content targets for each affected material, with readings showing when each material reached its target. Psychrometric logs showing the indoor GPP and relative humidity trending toward the dry standard over time. Photo evidence taken before, during, and after drying, with timestamps.
When a homeowner self-remediates and then files a claim, the adjuster arrives weeks or months later to a house that’s already been dried. The adjuster sees no logs, no daily readings, no diagram. The claim for structural drying, mold prevention, and any related repairs is routinely reduced on the argument that “the insured failed to mitigate,” because the homeowner can’t prove the mitigation was done to a professional standard. We’ve seen Orlando homeowners lose tens of thousands of dollars in claim value this way. You can’t reconstruct a drying log after the fact. The documentation either exists from the day it happened, or it doesn’t exist at all.
If you’re going to file an insurance claim for any water event beyond the most minor, hire a professional for the simple reason that the documentation is part of what you’re buying. The equipment and labor don’t just dry your house. They create the evidentiary record your adjuster expects to see. And when an insurer sees a professionally documented IICRC S500 compliant drying log, the claim moves differently than when they see a homeowner’s explanation of what they “did with some fans.”
Mold Liability in Florida Real Estate: What a Failed DIY Dry-Out Costs You at Closing
Florida law doesn’t require homeowners to proactively disclose every historical issue with their property, but it does require disclosure of any material defect that could affect the property’s value or desirability. Mold contamination, especially mold resulting from an unremediated water intrusion, qualifies as a material disclosure issue in a real estate transaction. A homeowner who attempted a DIY dry-out that didn’t reach professional moisture clearance standards, and then sells the home, is selling a property with an undisclosed latent mold condition.
Here’s what we’ve watched play out in Orlando transactions. Buyers in Florida are increasingly hiring home inspectors who use thermal imaging and moisture meters. These inspectors find the elevated moisture in the wall cavity behind the kitchen, or the mold colonization under the baseboard in the bathroom, and the deal changes shape. Sometimes the buyer walks. Sometimes the buyer demands remediation and credit at $8,000 to $15,000, which is generally more than twice what the original professional remediation would have cost at the time of the event. In a few cases we’ve been retained to document, the seller is then obligated to disclose the mold condition to all future buyers, which changes the home’s marketability for years.
The liability is invisible until it isn’t. The homeowner who “successfully” dries a wall with a box-store dehumidifier and a fan, and then sells the home two years later, is not thinking about what’s inside that wall. The buyer’s inspector might be. Mold doesn’t announce itself until it’s extensive enough to smell or stain, and by then, the remediation project is dramatically larger, and so is the disclosure obligation.
This is the argument for professional drying that has nothing to do with the emergency itself. Professional drying ends with documented moisture-clearance verification: written proof that each affected material reached the dry standard. That documentation is your defense in any future disclosure claim. It’s the difference between “we fixed it and here’s the proof” and “we thought we fixed it.” In Orlando’s active resale market, that difference has real dollar value.
The Narrow, Honest Case for DIY: One Scenario Where You Can Do This Yourself
I’m not going to tell you to call a professional for every water situation, because that’s not honest. There is a scenario where a careful Orlando homeowner can handle damage restoration without professional equipment, and it’s worth describing precisely so you know when it’s real and when it’s rationalization. The scenario: a confirmed Category 1 water source, a Class 1 spread under 10 square feet, no wall or ceiling penetration, hard surface flooring only (no carpet, no wood), and the water was addressed within the first few hours. If all of that is true, here’s the sequence that works.
- Stop the source. Shut off the water supply at the fixture or the main valve. If the leak is from a supply line, close the fixture’s isolation valve. If you can’t identify the source, close the main. Don’t start drying until the source is stopped.
- Extract thoroughly. Use a wet/dry shop vac to remove every drop of standing water. Lift up any removable items (mats, rugs, bins) and vac underneath them. Towels and mopping are not extraction. They leave water in the surface that becomes humidity in the room.
- Remove porous items from the area. If any towels, rugs, or cardboard boxes got wet and they’re small enough to throw away, throw them away. Anything porous you keep needs to be fully dried in an environment that’s actually dry, not just hung up in a humid Orlando room.
- Set up drying equipment. Use the strongest dehumidifier you can rent or borrow, placed in the center of the affected area. Add a box fan directed across the damp surface at a low angle. Keep the air moving and keep the dehumidifier running continuously, not on a timer.
- Measure humidity daily. Use a hygrometer and record the RH in the room twice a day. You’re looking for a sustained reading below 50% RH for at least 24 hours after the surface feels dry. If the RH stays elevated for more than 48 hours of continuous drying, or if you notice any musty odor, call a professional that day.
- Know your stop point. If at any point you discover water penetrated under baseboards, into drywall, under cabinets, or into any cavity, you are past the DIY threshold. Stop, document what you did, and call a professional before mold has time to develop.
This process works because it’s limited to surface water in a hard-surface environment. The moment moisture enters a material, the drying equation changes, and the retail equipment can’t keep up in Orlando’s climate. The failure mode is always the same: the homeowner says “it didn’t feel that wet,” and five days later the wall smells.
Common Mistakes to Avoid
- Using a household dehumidifier for structural drying. These units are designed for comfort-level humidity, not drying chambers. In Orlando’s summer air, they plateau at a GPP that’s still too humid to pull moisture from drywall or subflooring. A household unit running for a week will not dry a wall cavity, period.
- Opening windows to “air out” a water-damaged room. In Orlando, outdoor air from May through October carries more moisture than the indoor air you’re trying to dry. Opening a window adds water to the problem. Keep the room closed and let the drying equipment do its job.
- Assuming a surface that feels dry is actually dry. Drywall, wood, and concrete can feel dry to the touch while retaining 20%+ moisture content internally. Touch is not a moisture meter. Professional drying continues until materials reach their documented dry standard, which is typically well below what human skin can detect.
- Treating Category 2 water as if it were clean. Dishwasher overflow, washing machine discharge, and AC condensate are not Category 1 water. They carry contaminants and require antimicrobial treatment on affected porous surfaces. Treating them as clean water leaves a persistent odor and a health concern that professional remediation later has to address at higher cost.
- Waiting to file a claim while you “see how it dries.” Florida property policies generally require prompt notification of water damage. Delays give the insurer grounds to reduce or deny coverage on the argument that the delay worsened the damage. File the claim the day you discover the event, then decide on professional help. If you wait a week to see if the DIY approach works, you’ve already committed a policy misstep.
- Renting equipment without understanding placement. A commercial dehumidifier placed in a hallway outside the affected room, or an air mover pointed at the ceiling instead of along the wall-floor junction, does almost nothing. Drying is an airflow-and-humidity design problem, not just a “turn on the machines” problem. The equipment has to be placed to create the right vapor-pressure gradient, and that placement changes as the structure dries.
- Assuming all water damage is the same. A toilet overflow, a roof leak, a supply line break, and a floodwater intrusion are four completely different projects with different equipment, different antimicrobial protocols, different drying strategies, and different insurance claim outcomes. Treating them the same leads to under-remediation, which is more expensive than over-remediation.
When to Call a Professional
Call a professional when the water source is anything other than confirmed clean supply-line water. Call when the affected area exceeds roughly 10 square feet, when water has entered any wall cavity, when flooring shows any sign of saturation at the seams, when the event happened more than 24 hours ago, when you smell any mustiness, or when you’re filing an insurance claim for anything beyond surface water. These are bright-line thresholds, not judgment calls. If you’re standing in the room and debating whether to call, you’re already in the zone where calling is the cheaper option. Wendell Restoration Orlando offers free estimates throughout the Orlando metro area. Call (850) 771-2670 and a live person will answer. Not a phone tree. We’ll give you a written price before any work starts, and you’ll know the technician’s live arrival time before you hang up.
Frequently Asked Questions
Professional water damage restoration in Orlando typically ranges from $1,500 to $4,000 for a moderate single-room loss, with structural drying projects and Class 3/4 losses running higher depending on square footage and materials affected. The range depends on the water category, the class of penetration, the equipment days required, and whether antimicrobial treatment or content handling is needed. Every Wendell Restoration Orlando project includes a written price before any work starts, so you’ll know your exact number before we bring equipment in. Call (850) 771-2670 for a free estimate.
Only if the four-factor DIY test is fully passed: under 10 square feet, confirmed Category 1 water, no wall or ceiling penetration, and the indoor relative humidity in the affected room is below 60% RH. Orlando’s summer indoor humidity routinely sits above 60%, which means most summer water events fail the test. If the test fails, consumer equipment won’t create the low-GPP air needed to force moisture out of building materials, and the attempt typically produces a mold problem within 48 to 72 hours.
Insurance generally covers legitimate water damage restoration, but a claim where the homeowner self-remediated without IICRC S500 documentation is routinely reduced or denied. Insurers expect moisture logs, daily readings, equipment diagrams, and photo evidence. Without those, the adjuster can’t verify that mitigation was adequate, and the claim value shrinks. Professional restoration includes documentation as part of the service, and that documentation changes how the claim is processed.
Florida requires mold assessors and mold remediators to be licensed by the state when the mold-affected area exceeds 10 square feet. For active mold growth below that threshold, a homeowner can technically address it themselves, but the underlying moisture problem that caused the mold still needs professional drying, and improper cleaning can spread spores. Mold Remediation in Orlando includes both the source correction and the antimicrobial treatment, plus documentation that the space meets post-remediation clearance standards.
Wendell Restoration Orlando answers every call 24/7 with a live person, and we dispatch uniformed, background-checked technicians with a live arrival time you can track, not a vague four-hour window. Water damage does not keep business hours, and neither do we. In the meantime, shut off the water source and move any undamaged items away from the affected area, but don’t attempt extraction beyond what you can safely reach.
Restoration means the mitigation and drying work: extraction, equipment deployment, moisture monitoring, and antimicrobial treatment, all documented to IICRC standards. Repair means restoring the structure after it’s dry: drywall replacement, baseboard work, flooring repair, and paint. Many water losses require both phases, and a restoration company that handles both under the existing insurance claim saves you from coordinating two contractors. Water Damage Restoration in Orlando runs through the full sequence, and Water Damage Repair in Orlando details the rebuild phase.
The Bottom Line
The DIY-versus-professional decision in Orlando water damage comes down to four factors you can assess in the first hour: the size of the loss, the cleanliness of the water source, whether the water penetrated any structure, and the room’s humidity. If all four favor DIY, the narrow path described in this guide works. If any one fails, professional drying is not the premium option; it’s the least expensive way to avoid the mold liability, the insurance documentation gap, and the disclosure obligation that a failed DIY dry-out creates. Orlando’s climate is unforgiving to slow drying and underpowered equipment. The decision you make in the first hour determines which outcome you get. If you’re not sure, call (850) 771-2670. We’ll tell you honestly whether you need us or not, and it costs nothing to find out.
Written by Blake Sorensen, Owner at Wendell Restoration Orlando, serving Orlando since 2006.
See the difference
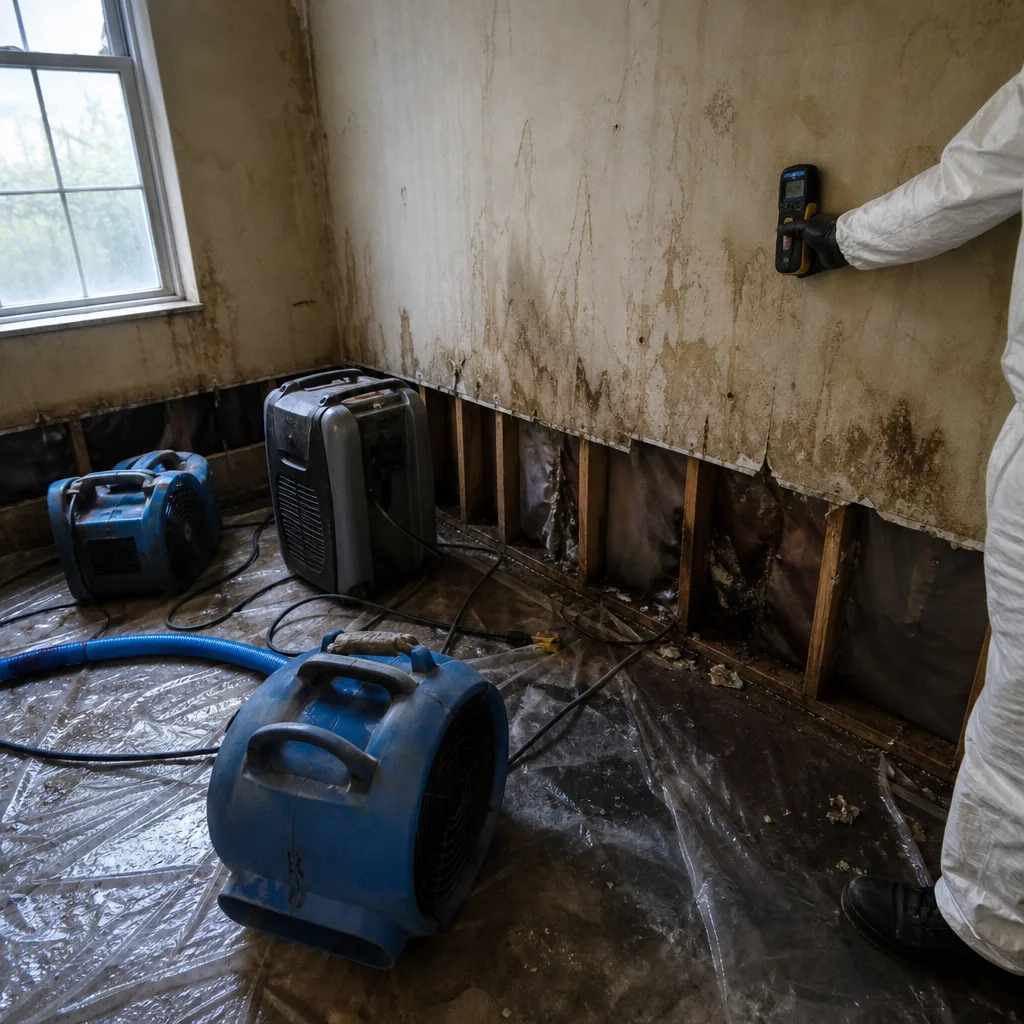 Before
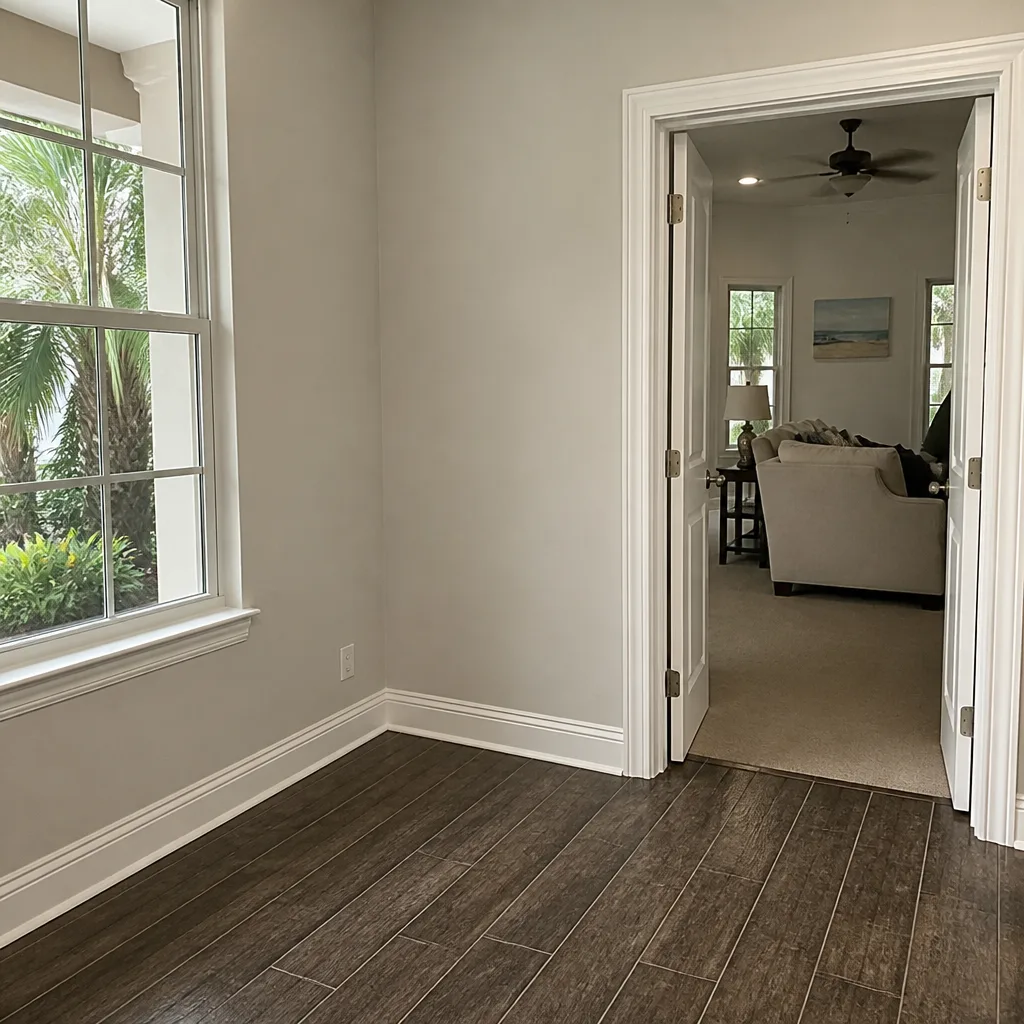 After
After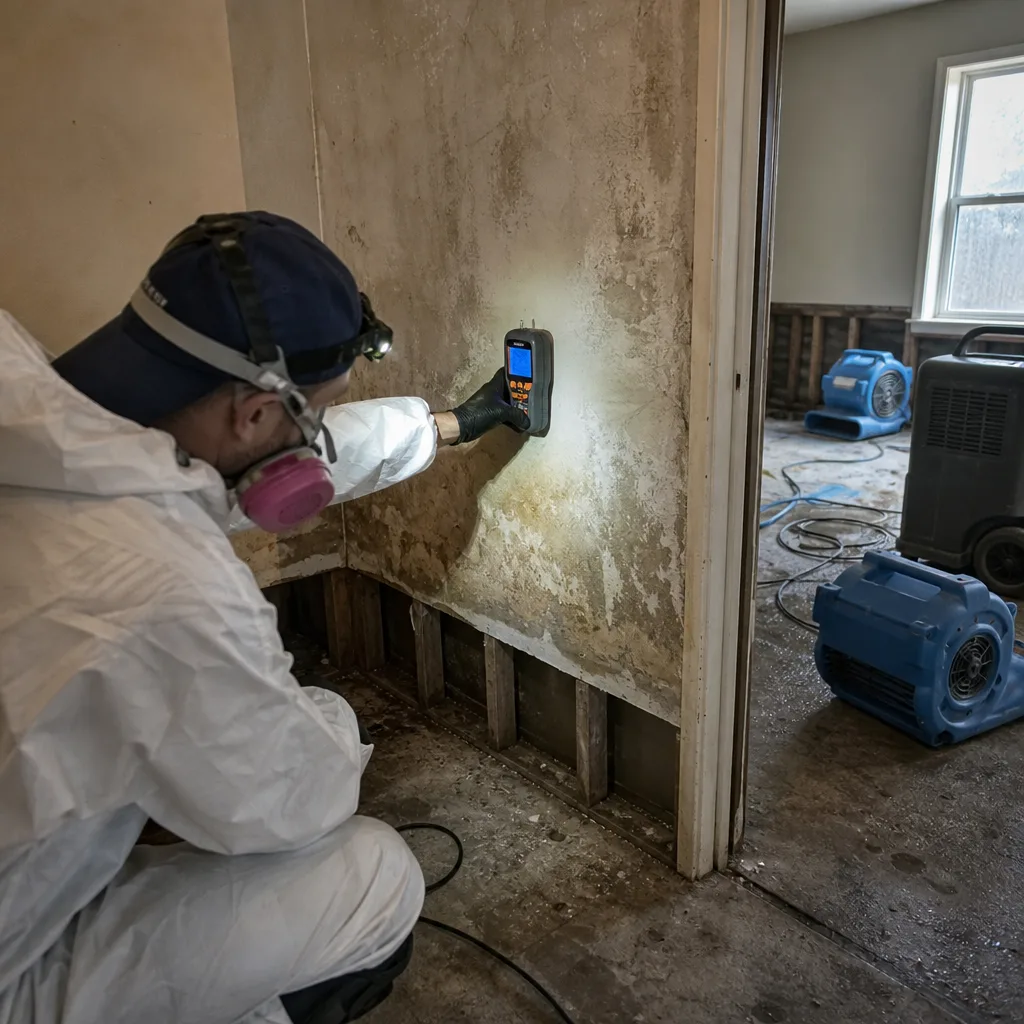 Before
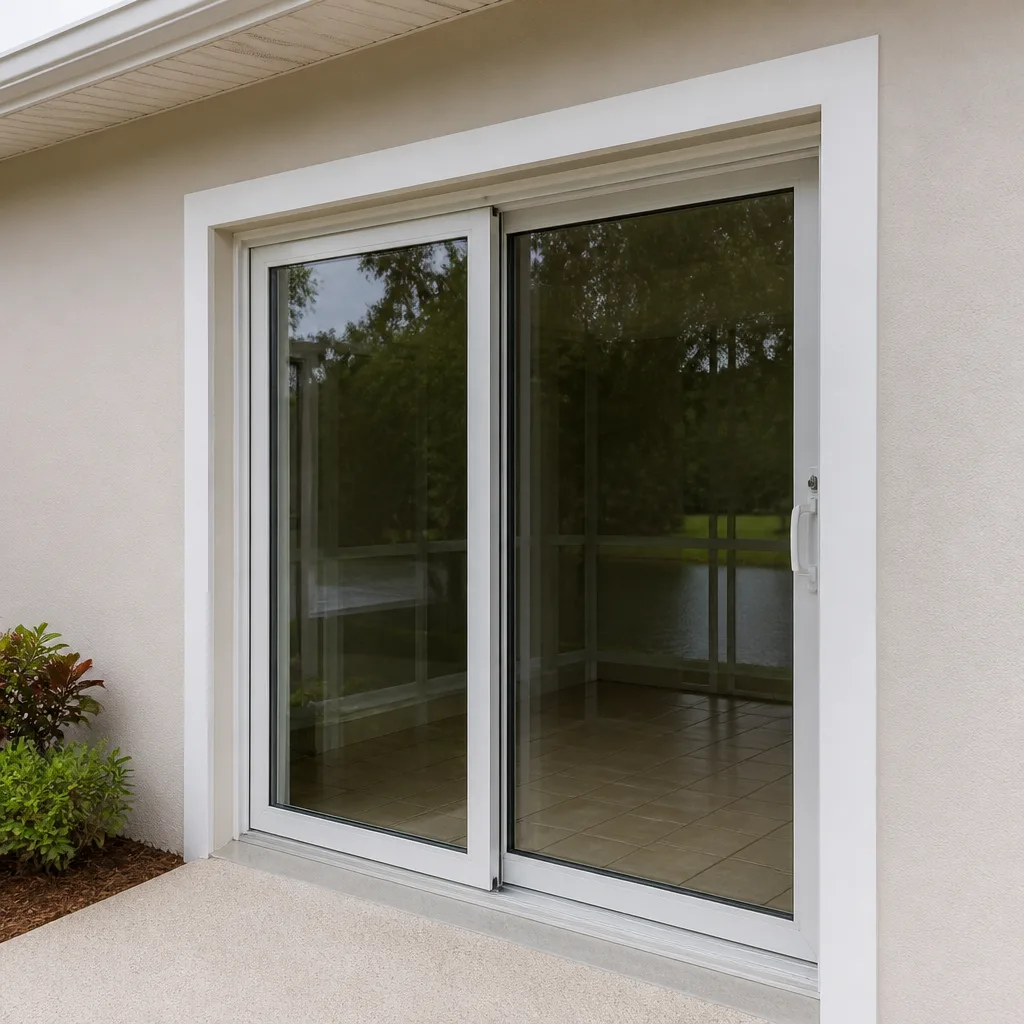 After
After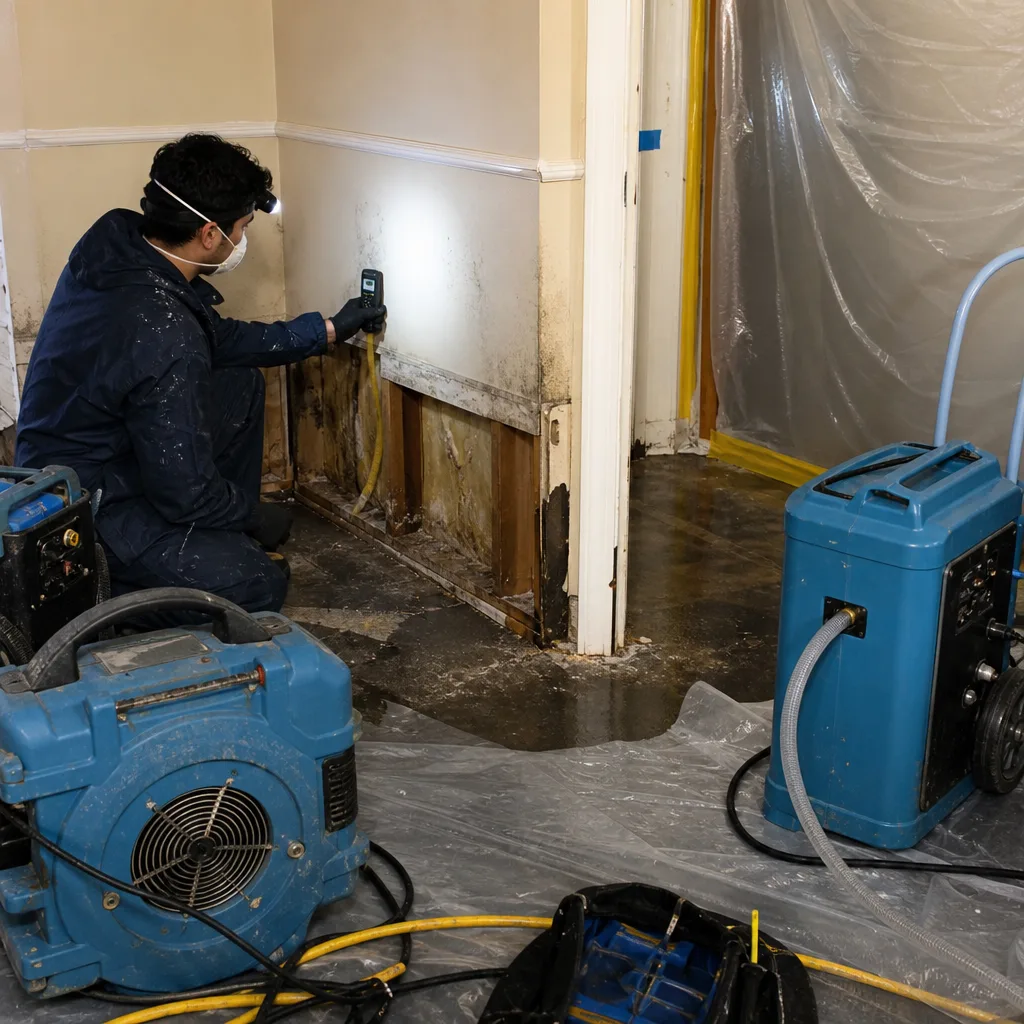 Before
 After
After